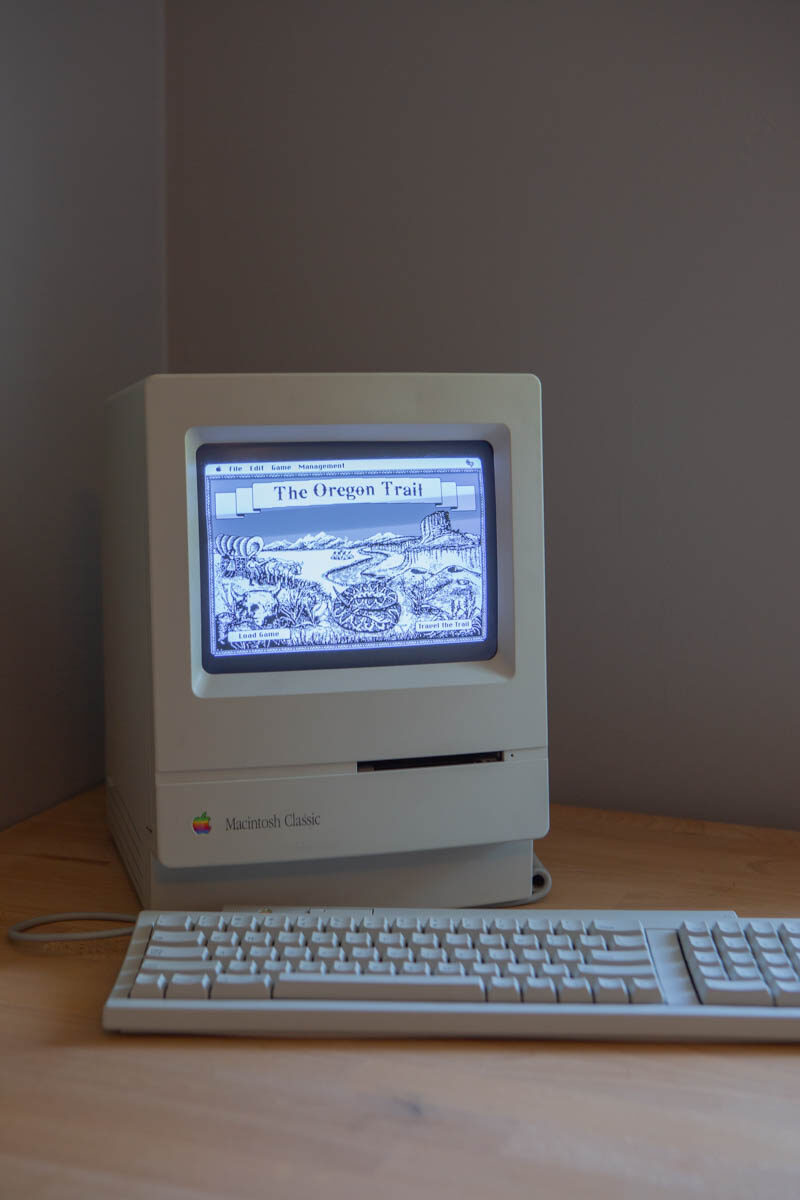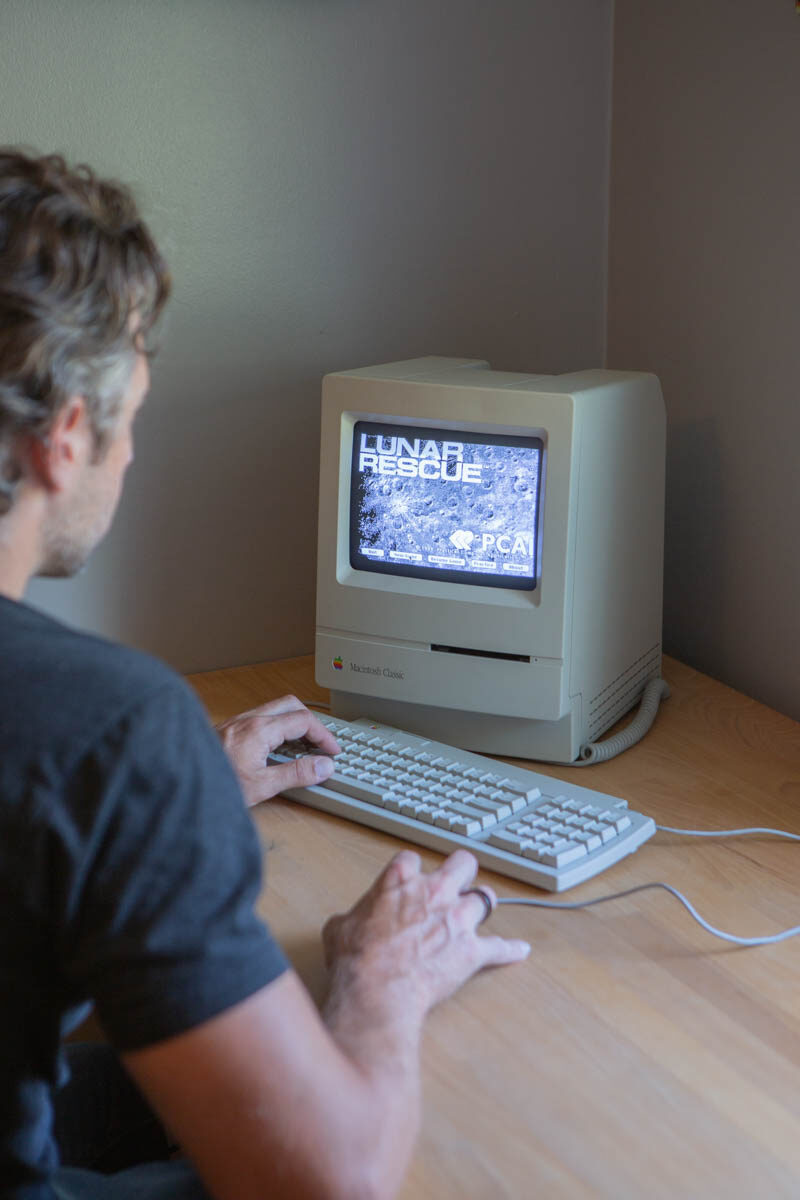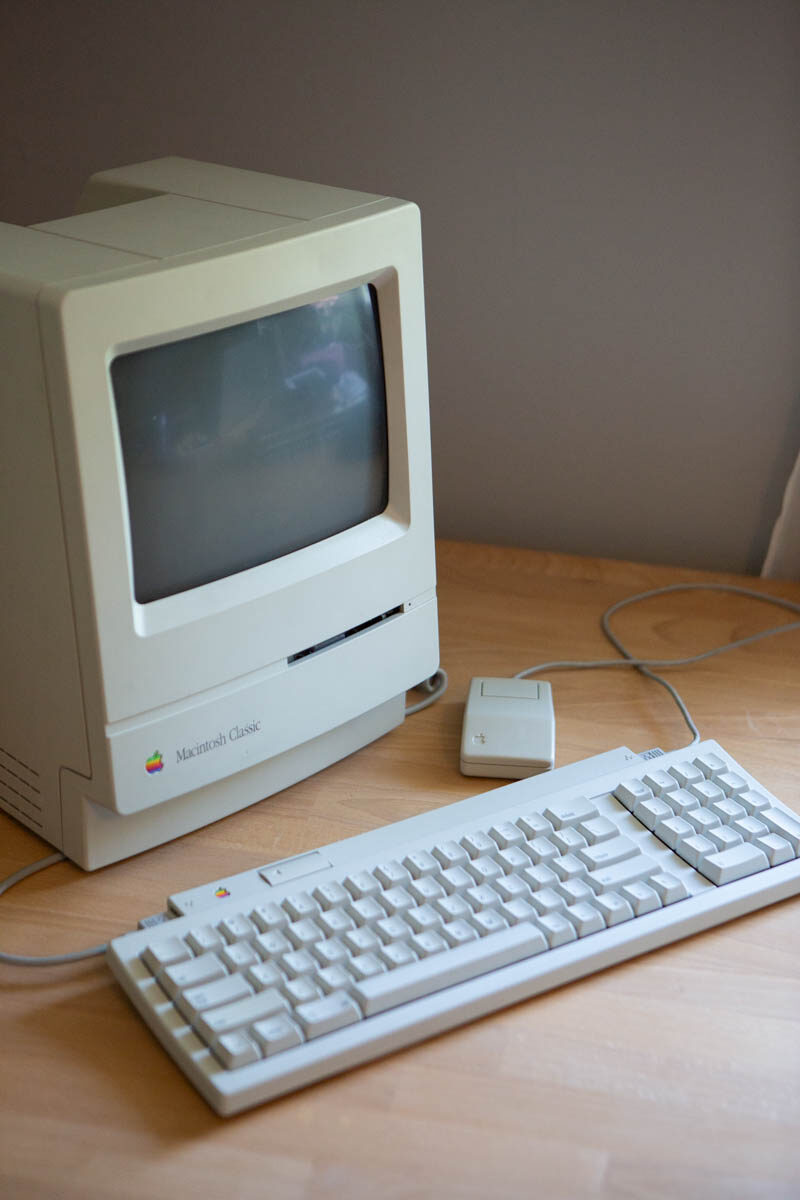
I picked up a 1990 Macintosh Classic for $25 at an auction a few years ago. It was just the computer with no keyboard or mouse and there was no indication of the status of whether or not it was working. I got it home and plugged it in to see if it would power up. It turned on but booted to a checkerboard screen. After some initial cleanup and running the motherboard through the dishwasher, it briefly powered to a sad Mac, but then went back to a checkerboard. After a bit of research, I found that any Mac Classic would need the capacitors replaced if it was ever going to run again. I decided that was more than I wanted to invest at that point so it sat on a shelf for several years.
Recently, I came across some people replacing the internals of original Macs with Raspberry Pi’s and iPads. This looked interesting, but as I thought about it more, I realized it was basically just a fancy case for modern hardware and I’d rather have the actual vintage hardware in place. So I looked into what it would take to get this Mac Classic up and running for real. The first order of business was to find a keyboard and mouse. I purchased a pair on eBay for $46 in an auction. About the best price I have seen for a working version. They were quite dirty and yellowed, but that could be cleaned up later.
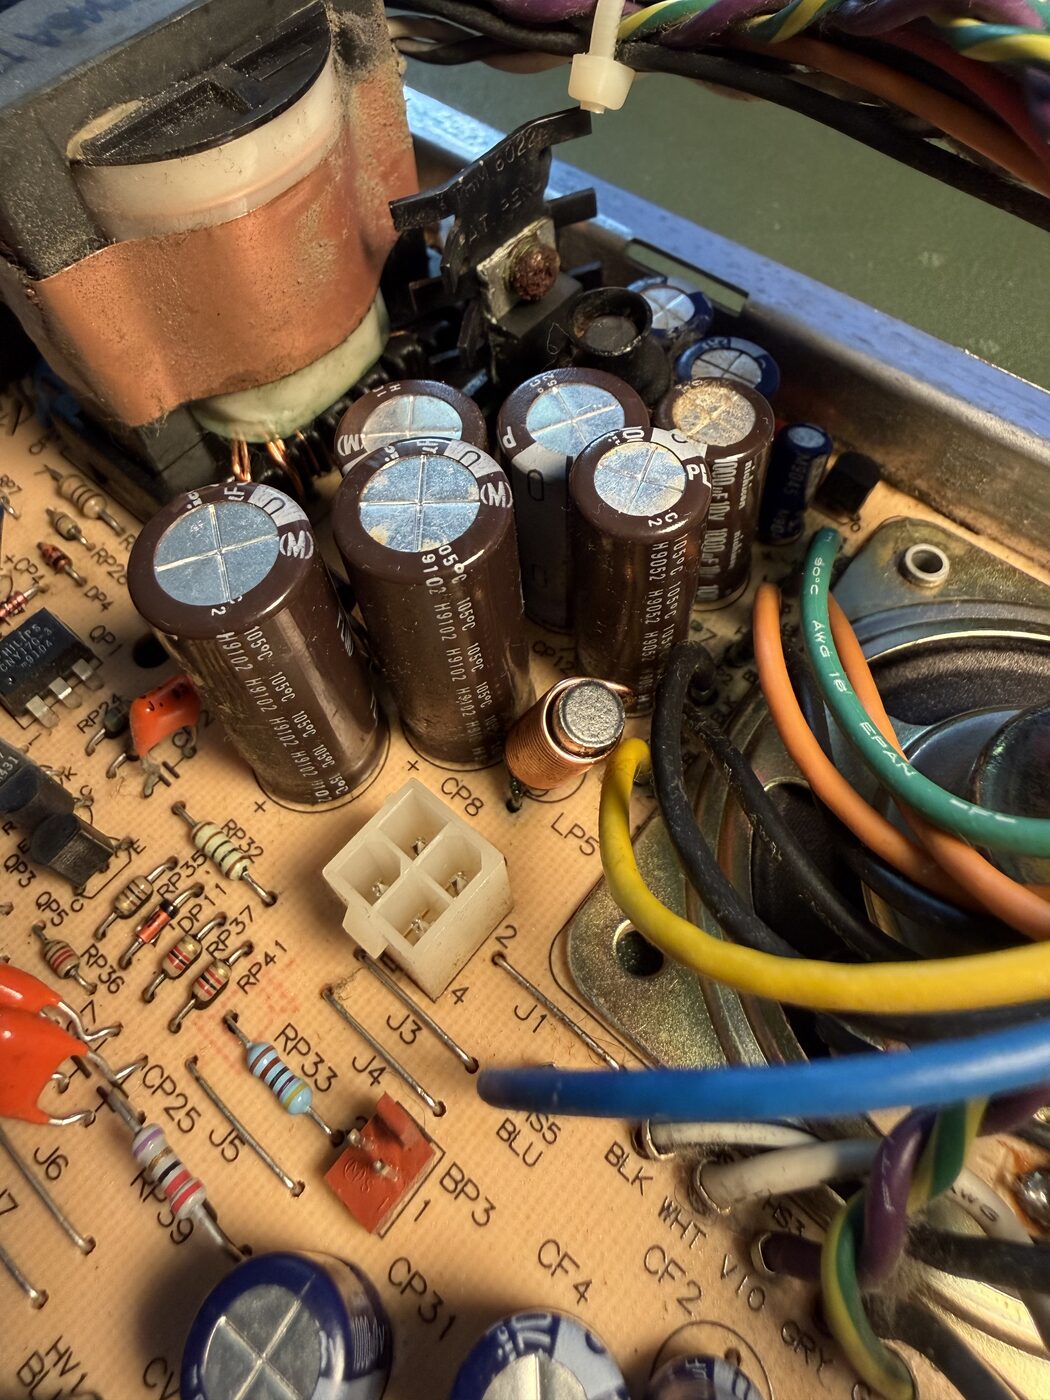
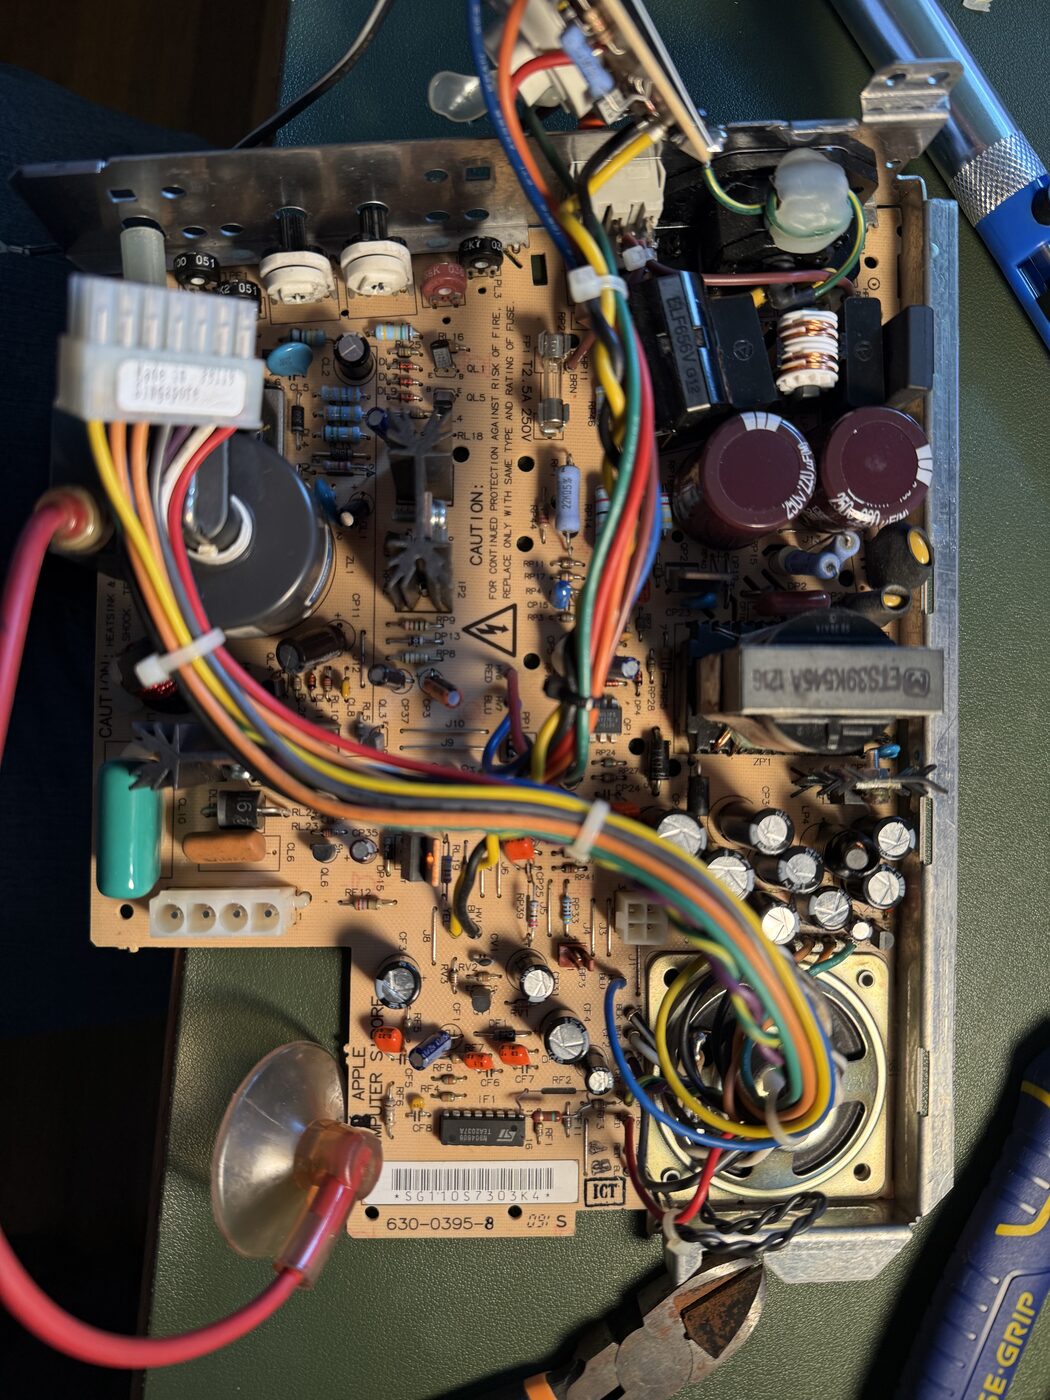
Next, I figured both the analog and digital boards would need to be re-capped. I followed a wonderful guide here going through all the details of how to properly tear down the Mac Classic and which capacitors needed replacing. I bought a set of capacitors for both boards from Console5. The analog board was pretty straightforward to replace as these are all through-hole capacitors. I replaced all the ones that came in the kit I ordered which I matched by part number but didn’t seem to be an exact match. This seemed to be enough, however to get everything working.
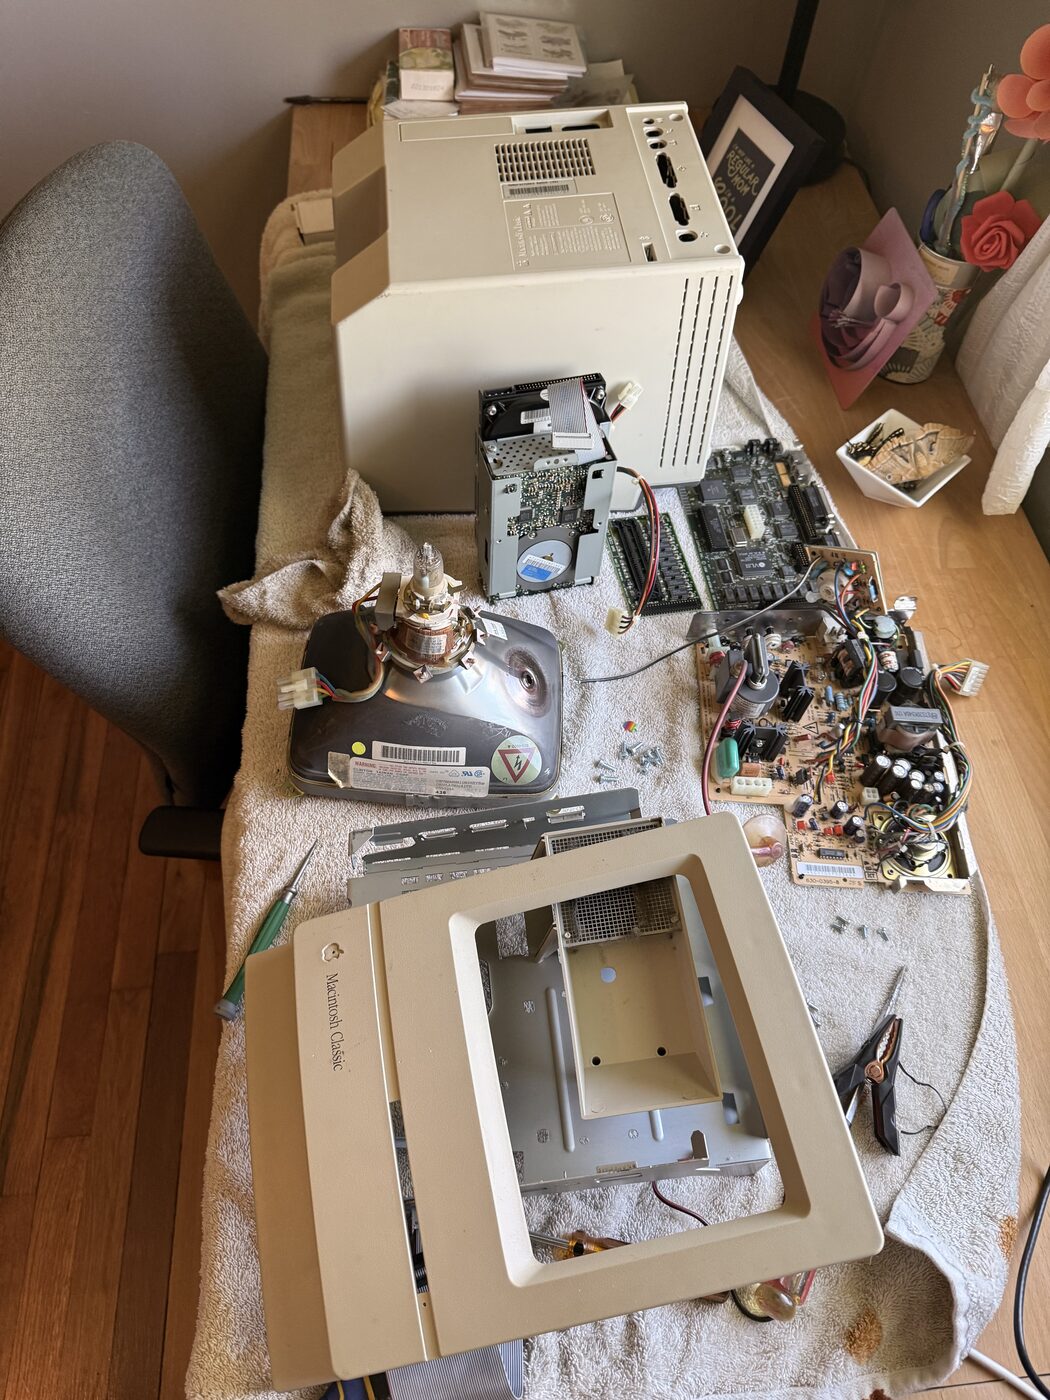
The digital board has all surface-mount capacitors which I found much more difficult to both remove and solder on the new ones. They weren’t impossible, just took some patience and more heat to remove. I ended up accidentally removing the pad from one of the capacitors so I had to solder a patch wire to get it to connect. During this process, I used IPA to clean up all the goop that had leaked from the faulty capacitors as best as I could.
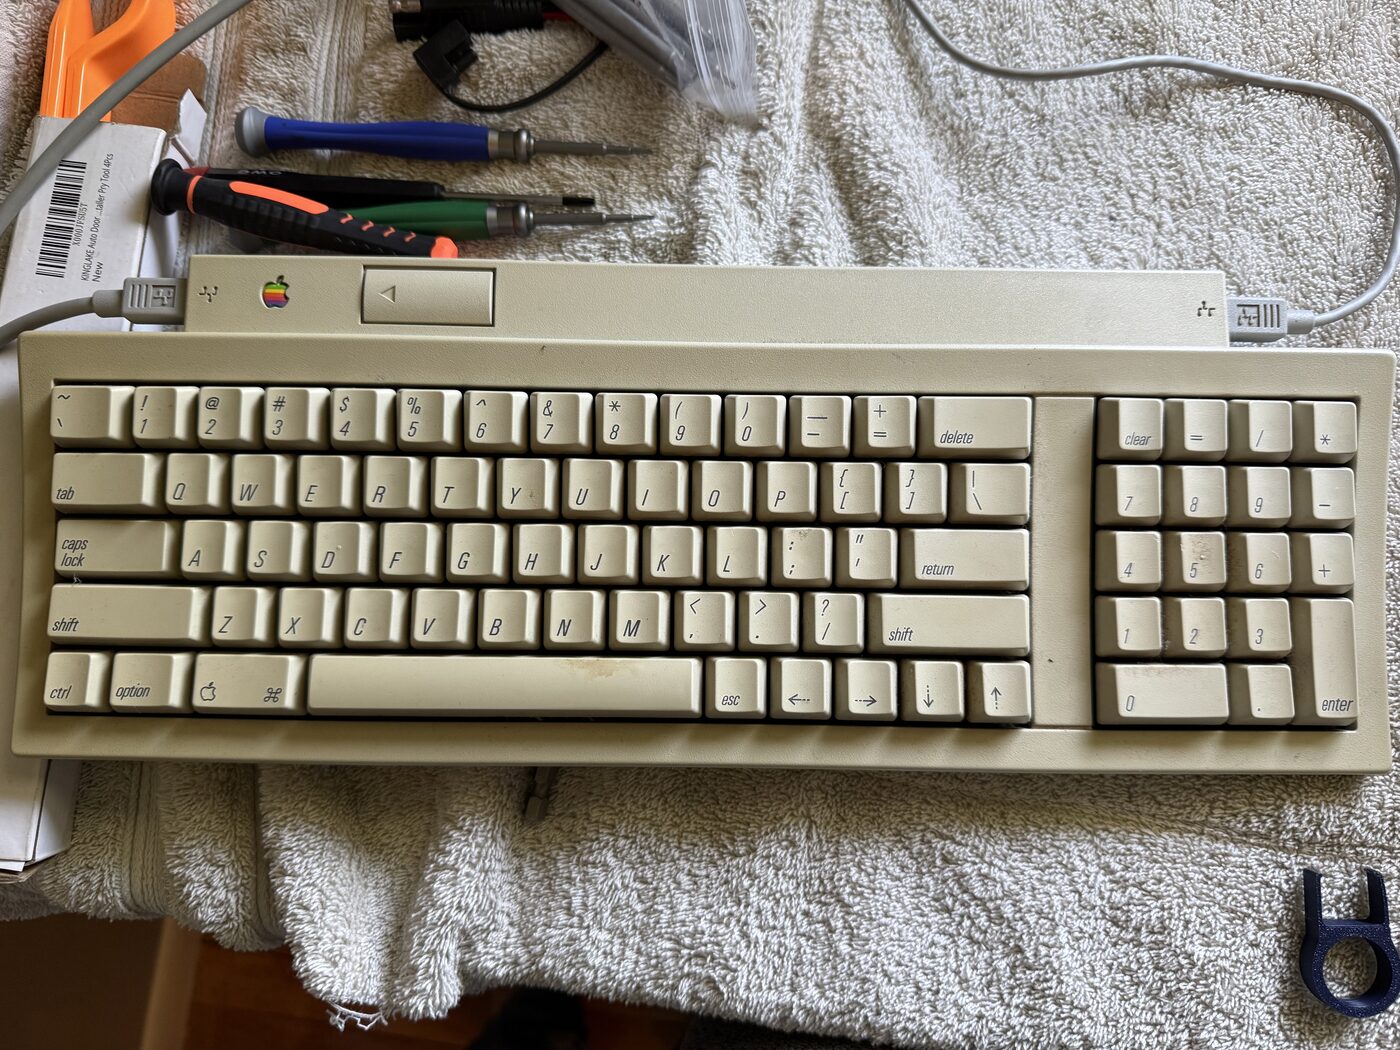
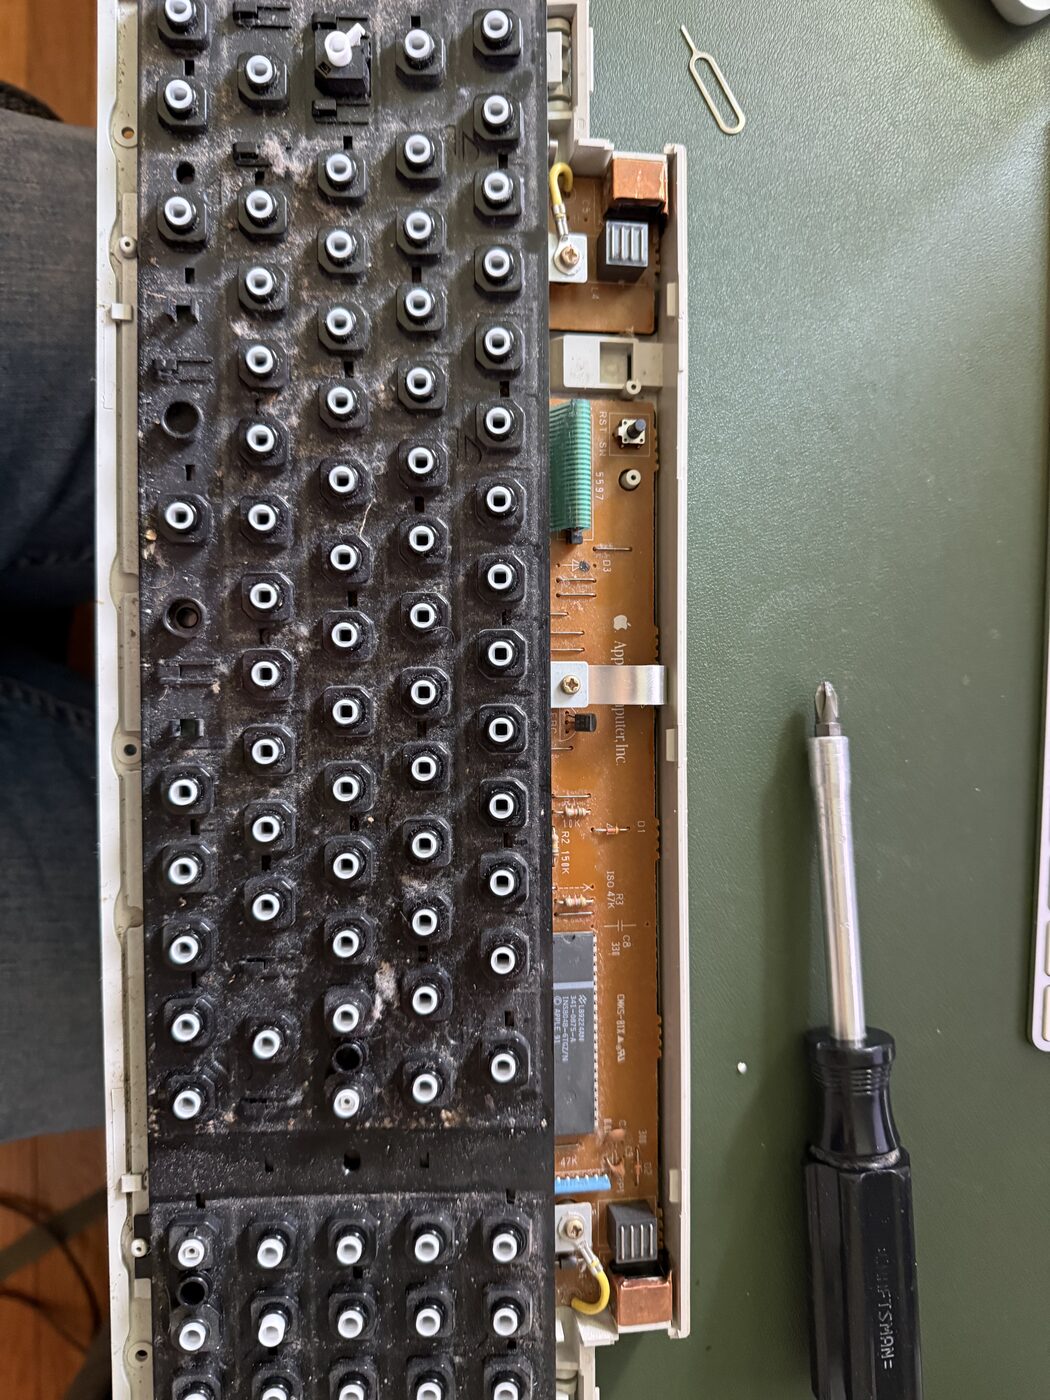
After re-capping both boards, I wanted to clean up the plastic that had been yellowed over the years. If you look up how to do this, there are a lot of posts talking about retrobrighting old hardware like this. I thought at first that this was a particular product, but it’s actually using hydrogen peroxide and heat/UV to brighten up and clean up the plastic significantly. There are many guides out there for doing this. I used this restoration as a basic guide for myself. I ended up pulling every key on the keyboard (3D printing a key puller makes this possible) and retrobrighting the computer case, keyboard, and mouse. I think it turned out pretty decent (I ended up doing the keys twice because it was hard to keep them from floating).
Another thing about these old Macs is that the SCSI hard drives often go bad after sitting for years (or even with a lot of use). The solution here is to replace the hard drive with a BlueSCSI controller and SD card to boot from. This is what I did which allowed me to load an image with a lot more applications than would normally fit on one of those old hard drives.
I also replaced the fan with a quieter Noctua fan and added 2MB of RAM to the expansion card to max out at 4MB.
After re-assembling everything, I was greeted with a very wavy checkerboard pattern again. After warming up for 5 minutes or so, it would actually power on, so it seemed that maybe it just needed some more cleaning. I did an IPA soak of the digital board and really scrubbed every area as best as I could. After that, everything seemed to work as it should. There was a still bit of flicker after booting, however, so I adjusted the potentiometer PP1 slightly on the analog board after measuring the voltages of the floppy drive external port. This is covered in the guide here that I had followed from the beginning. The pot is in the center of the analog board and only needs very slight adjustments to make a large change. It was a bit tricky to get to, but a long small screwdriver did the trick.
So, there it is, the restored Mac Classic. It’s a lot of fun to play with MacPaint, HyperCard, Oregon Trail, and all kinds of fun old apps from my childhood.